
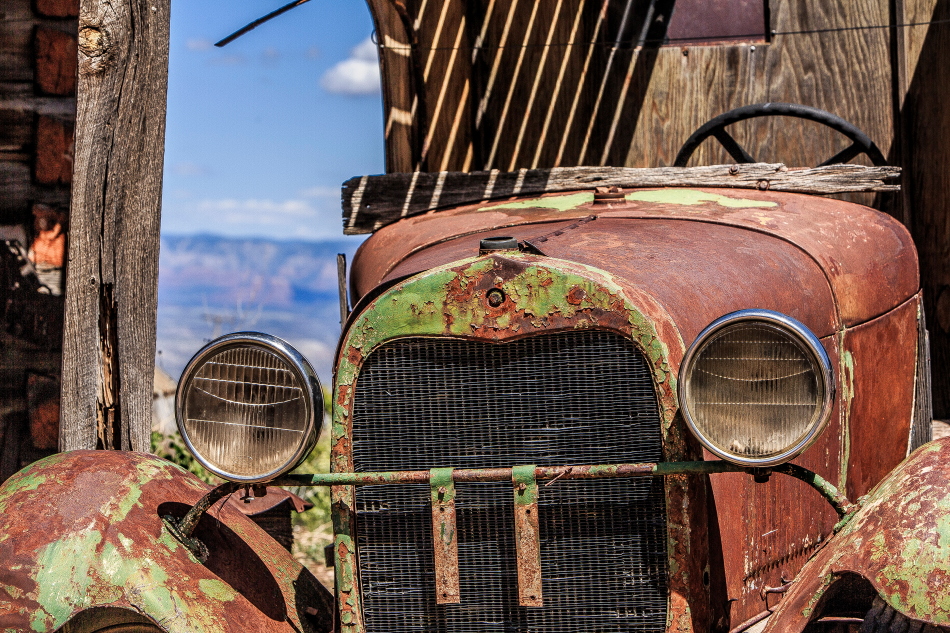
Following Scott Stulberg’s workshop, I guess this week is all about special effects. Cool and fun as they may be, I am an old fashioned kind of gal. I tend to like the traditional landscapes and wildlife photos, done the old fashioned way… in camera. Having said that, some photos just lend themselves to such effects. Case in point… old cars are often done in an HDR effect.
Now HDR (High Dynamic Range) means two things to me… (1) blend 3 exposure compensated photos – light, neutral, and dark together to balance high contrasting scenes, and (2) an ‘artificial’ over-the-top high pass graininess and unsaturated look over a photo, bringing out the texture, rust, and old paint of such subjects.

I haven’t studied HDR much, and I know there are numerous pre-sets in multiple 3rd party apps… Topaz, Nik, Lightroom, etc. I don’t use pre-sets. I like knowing how to do anything I do with the sliders in Photoshop. I also don’t really like the unsaturated look like traditional HDR effects, sort of like the below. It seems so ‘over done’ to me.

So I devised my own ‘formula’ for HDR in Photoshop ACR (Adobe Camera Raw, or Develop Mode in Lightroom), adjusting of course for each individual photo and personal tastes:
Highlights: Slide far left, darkening Highlights
Shadows: Slide far right, minimizing Shadows
Blacks: Slide left (blacker)
Whites: Slide right a little (whiter)
Clarity: Slide right to the MAX (this is where most of you HDR effect comes from)
Saturation: Slide left de-saturating colors (to personal taste)
DETAIL tool
Sharpening, Radius, and Detail: Slide all 3 to the right, MAX


