Light Painting

lightpaint basicPSi

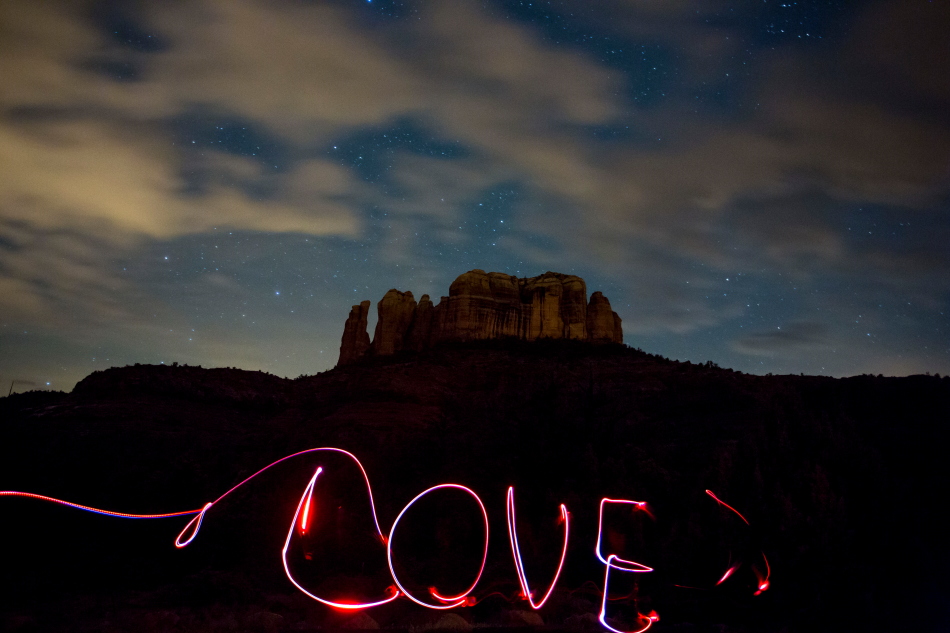
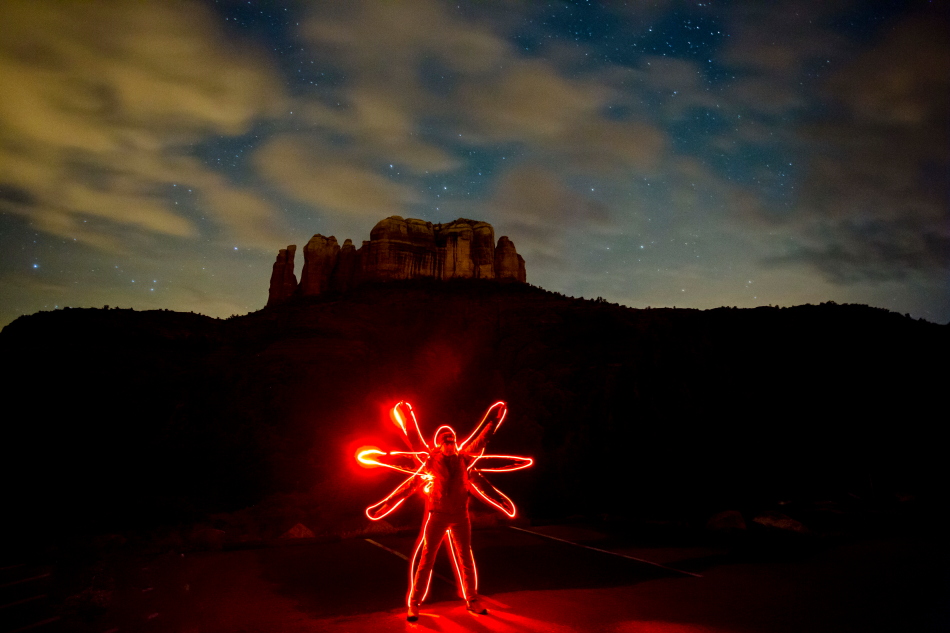
I have never done light painting before, so this was my first time.  I was surprised at what you could do with it… and how easy it was really.  Set your tripod up on your night time scene.  Dependent on your aperture and focal length, focus around 50′ (light up something approx that distance away and focus.. then turn all lights off).  At your lowest aperture f2.8 or f4.0, set camera on Manual and set to a 30 second exposure.  Fire a test shot to be sure your exposure and composition look about right.

Then run across the scene like a crazy person twirling colored lights (not too bright of lights).

lovePSi

davinciPSi

I’m not sure how practical this technique is.. but it was fun and interesting none the less.  Thanks to Scott Stulberg for showing us.  Pretty cool.

Check out my other Sedona pix at https://kritterspix.com/pix and http://kritterspaw.com

Focus Stack

Have you heard of Focus Stack.  My guess this isn’t the first time… or the last you’ll hear of it.  I have heard a lot about it… and have a lot to learn, but it is all the rage in photography.  It’s a method employed by professionals and amateurs alike.  It’s what wins contests today.  Forget about setting your camera on a small aperture, f22 and getting everything from foreground to background in focus.  Today, that method is passé, and yields softness or blurry portions in the photograph, dependent on where you focus.

There are a number of free Focus Stack softwares out there that will automatically analyze a series of photos and merge them together such that everything is tack sharp.  You take several photos, one focussing on foreground, one focussing on middle ground, and one on background… select them all and the software does the rest.  It’s magic… truly!

So I thought I’d give it a go using just Photoshop (without the Focus Stack software…. no doubt that will be a later experiment).   Matt Kloskowski demo’s this method in his terrific new Mt. Rainer landscape class            (http://www.mattk.com/my-new-mt-rainier-landscape-photography-class-is-live/).

So I pulled out a couple Barlett lake pix out of my archives.

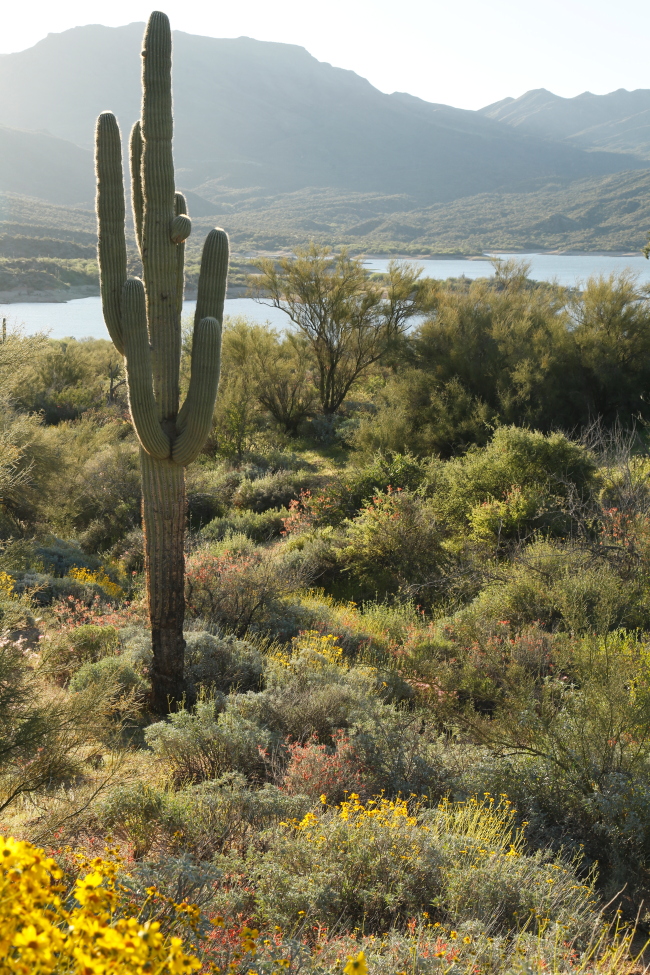
The first has the cactus in focus, but the foreground flowers are out of focus.. (and mostly absent).

_40A7000i

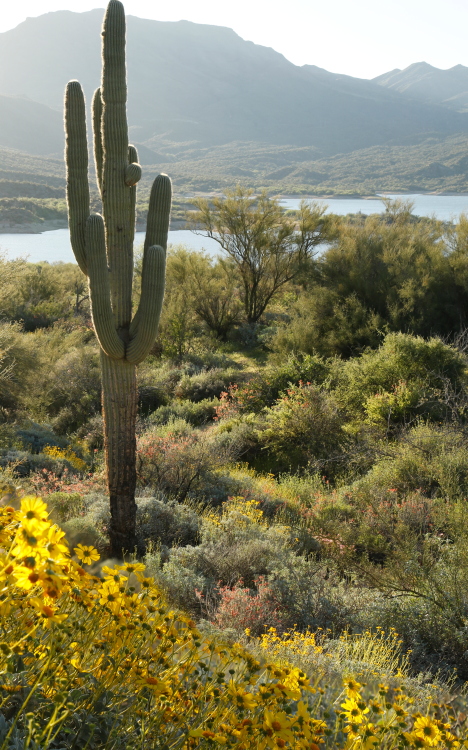
The second photo has the cactus blurred, but the flowers are more prevalent and in focus:

_40A7004i

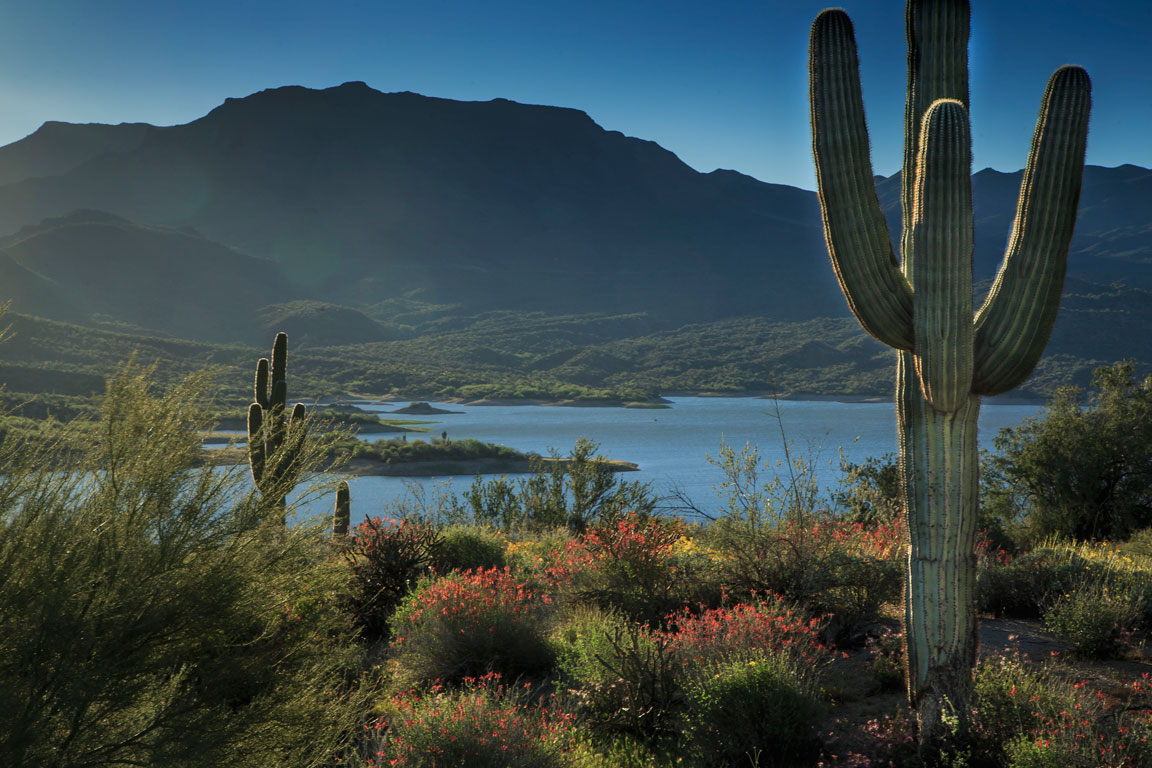
Using Photoshop I open both pix in one file creating 2 layers.  I then select both and Edit-Auto Align Layers to make sure both layers are directly on top of on another.  I then add a mask to the second photo (with blurred cactus and sharp flowers) and Command-I (inverse) to blacken out the whole photo.  Then using white, and the brush tool, I paint the sharp flowers (second photo – mask selected).  What happens is I paint the sharp plentiful flowers through to the 1st layer, painting over the blurred flowers of the first photo.

flowers cactus mergedii

I must admit, I’ve not done a lot of this sort of composite work in Photoshop… but seeing how powerful it is, I know why it is so popular.  Amazing!

Point, Shoot, and Steam

I shoot with a Canon 5D Mark III.  It’s a full frame professional camera.  Basically, the camera of my dreams. I love it.  It’s what I use when I go out and shoot.  All those great wildlife and landscape photos are taken with that beauty.  If they don’t come out I have no one to blame but me.

I do own a point and shoot… I’ve had many over the years.  And I love these little cameras.  I carry them with me everywhere.  They are super handy to take my food pix, street photos, and inside restaurant / building pictures.  I carry them with me on trips and always have them handy in my pocket.  Great little camera to have.

I have had the Panasonic Lumix or some decedent there of… but my last 2 have failed on me within 2 years, so I’m a bit squeamish of buying another Lumix.    My last one admittedly was probably my fault… I wore it on my belt loop on my ATV (quad) and it got ‘dusted’ on the dirt roads.  When I went to turn it on, the lens wouldn’t come out.  I probably got a bit of dirt between the lens and got it stuck.

But my latest one, my Lumix ZS19 has me frustrated.  It gave up the ghost in a puff of steam.ghostfish_Ssi

This is the last picture it took.  I think I scared the ghost out of it when it saw the teeth on this whole red snapper.  (krittersmenu.com)  Ha!  In a puff of steam, the camera shut down and I have not been able to resurrect it.  It’s 2 years old.  I can’t believe a little steam would make it go belly up.  I have had it ‘soaking’ in rice for 2 days, and still it won’t work.  So it’s time for a new camera I guess.

I have done a fair amount of research for a new point and shoot and found there to be 4 basic categories (these are my own conclusions and observations, so like any advice or information you read on the net, take it with a grain of salt):

1. Social Media Cameras – These camera have Wi-Fi, GPS, and can instantly send your pix to Facebook or other social media.  Cameras such as the Samsung Galaxy are king in this field.  Not my area of expertise however.  I don’t participate in Social Media, don’t have a Facebook account, and barely can spell Twitter.  Thus this category is not for me.

2.  Inexpensive Bargain Point & Shoots – There are more cameras in this field than I can list… cameras like the Canon ELPH and Nikon Coolpix, etc.  These cameras are good value, good all around cameras, and do a great job supplementing a camera phone.

3.  Mega Pixel / Super Zoom – These are higher end than the Bargain cameras… optically better cameras.  There are a good ‘all ’round’ camera.  They have good zooms (20x to 30x) and great mega-pixels, 12Mp – 30 Mp.  They take good pix, but not great pix.  This is basically where my Lumix sits.  Nice point and shoot … takes good pix, great zoom, nice Mega-pix so I can crop as necessary, all in a handy size. (Think Lumix ZS40, Nikon P9700, and Canon SX280.)

4.  Pro Digi-cam – High end point and shoot.  This is the segment I found myself repeatedly coming back to.  The thing that is of No. 1 importance to me personally, is photo clarity…. particularly at low light conditions.  That basically means I want a large sensor (more clarity) and large aperture (f1.8 or so) to let more light in at low light.  I have come to find out that you have to sacrifice zoom for clarity.   Any super-zoom will never have the clarity of a pro digi-cam.  Check out the link below… it’s an eye opening example of ‘clarity’ comparison.

http://www.dpreview.com/reviews/image-comparison?attr18=daylight&attr13_0=canon_s120&attr13_1=panasonic_dmclf1&attr13_2=canon_g7x&attr13_3=nikon_cpp340&attr15_0=jpeg&attr15_1=jpeg&attr15_2=jpeg&attr15_3=jpeg&attr16_0=80&attr16_1=80&attr16_2=125&attr16_3=80&normalization=full&widget=1&x=0.4171981864289555&y=0.9443681318681318

While I like my super-zoom, if I have to give up super-zoom for clarity… then so be it.  I want sharp clear photos.  In looking for a new camera, there are SOOOoooo many out there, you just have to analyze and understand what is important to you, then find the camera that fits in that segment (a time consuming task to be sure, as everyone finds something different is important to each individual).  I find that the sorts of photos I take with my point and shoot are street scenes, food, restaurant photos.  If I do take a super zoom pic, it’s usually not good enough (or sharp enough) to do anything with anyway.  If I really want to take an ‘award winning’ photo, it’s likely to be with my big camera.  So I have picked my category.  So now on to picking the camera.

There are a lot of high end pro digi-cams.  Canon G7 and Sony RX100 rock the scene with a full 1″ sensor.  OMG.  But the price tag for such a camera is around $800.  That’s a bit steep for my little supplemental point and shoot (P&S).  I have my big camera for the heavy lifting.  I just want a small P&S that takes good pix when I’m out and not carrying the monster.  So below those is a field of 1/1.7″ sensor camera’s that have large aperture f1.7… Canon S120, Lumix LF-1, Sony RX100 (basic), Nikon P340.  They each have their individual features… but sit in the same general space +/- $100.

The Sony RX100 is a bit pricey at $500 (and upward from there).  The Lumix LF-1 has a view finder, but tends to be soft (blurry) in the corners (and I’m still mad at my Lumix, not sure I can stomach another one).  That leaves me with the very capable Nikon P340 and Canon S120.  Being a Canon owner, I tend to lean toward that.  The Canon S120 is super small (that can be good or bad), but gets great reviews in particular regard toward clarity… the feature most important feature to me.  It only has a 5x zoom, which is going back years on my ‘zoom’ front days.. but I may be making the plunge.  Hmmmmm….

London Graveyard

cemetaryk PSi

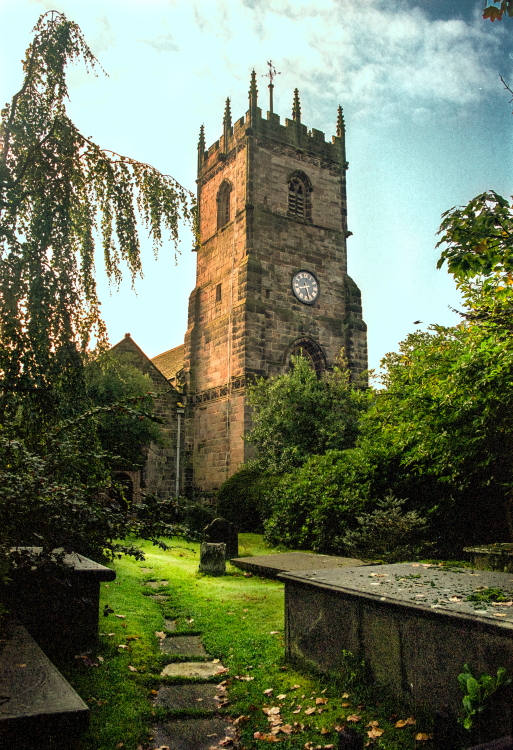
It’s not like I frequent cemeteries, but there is something nostalgic and eerie about old London graveyards.  It’s like something out of a movie.  The tombstones are of another time and place… a totally different era.  One can serenely walk through a quiet graveyard and imagine stories and lives of another time.

grvstnsportk-PSi

gravestonkPSi

These photos were taken in Guildford, England, just outside of London, circa 2000, recently scanned from 35mm negative to digital.

Desert Flowers

cactired vertPSi

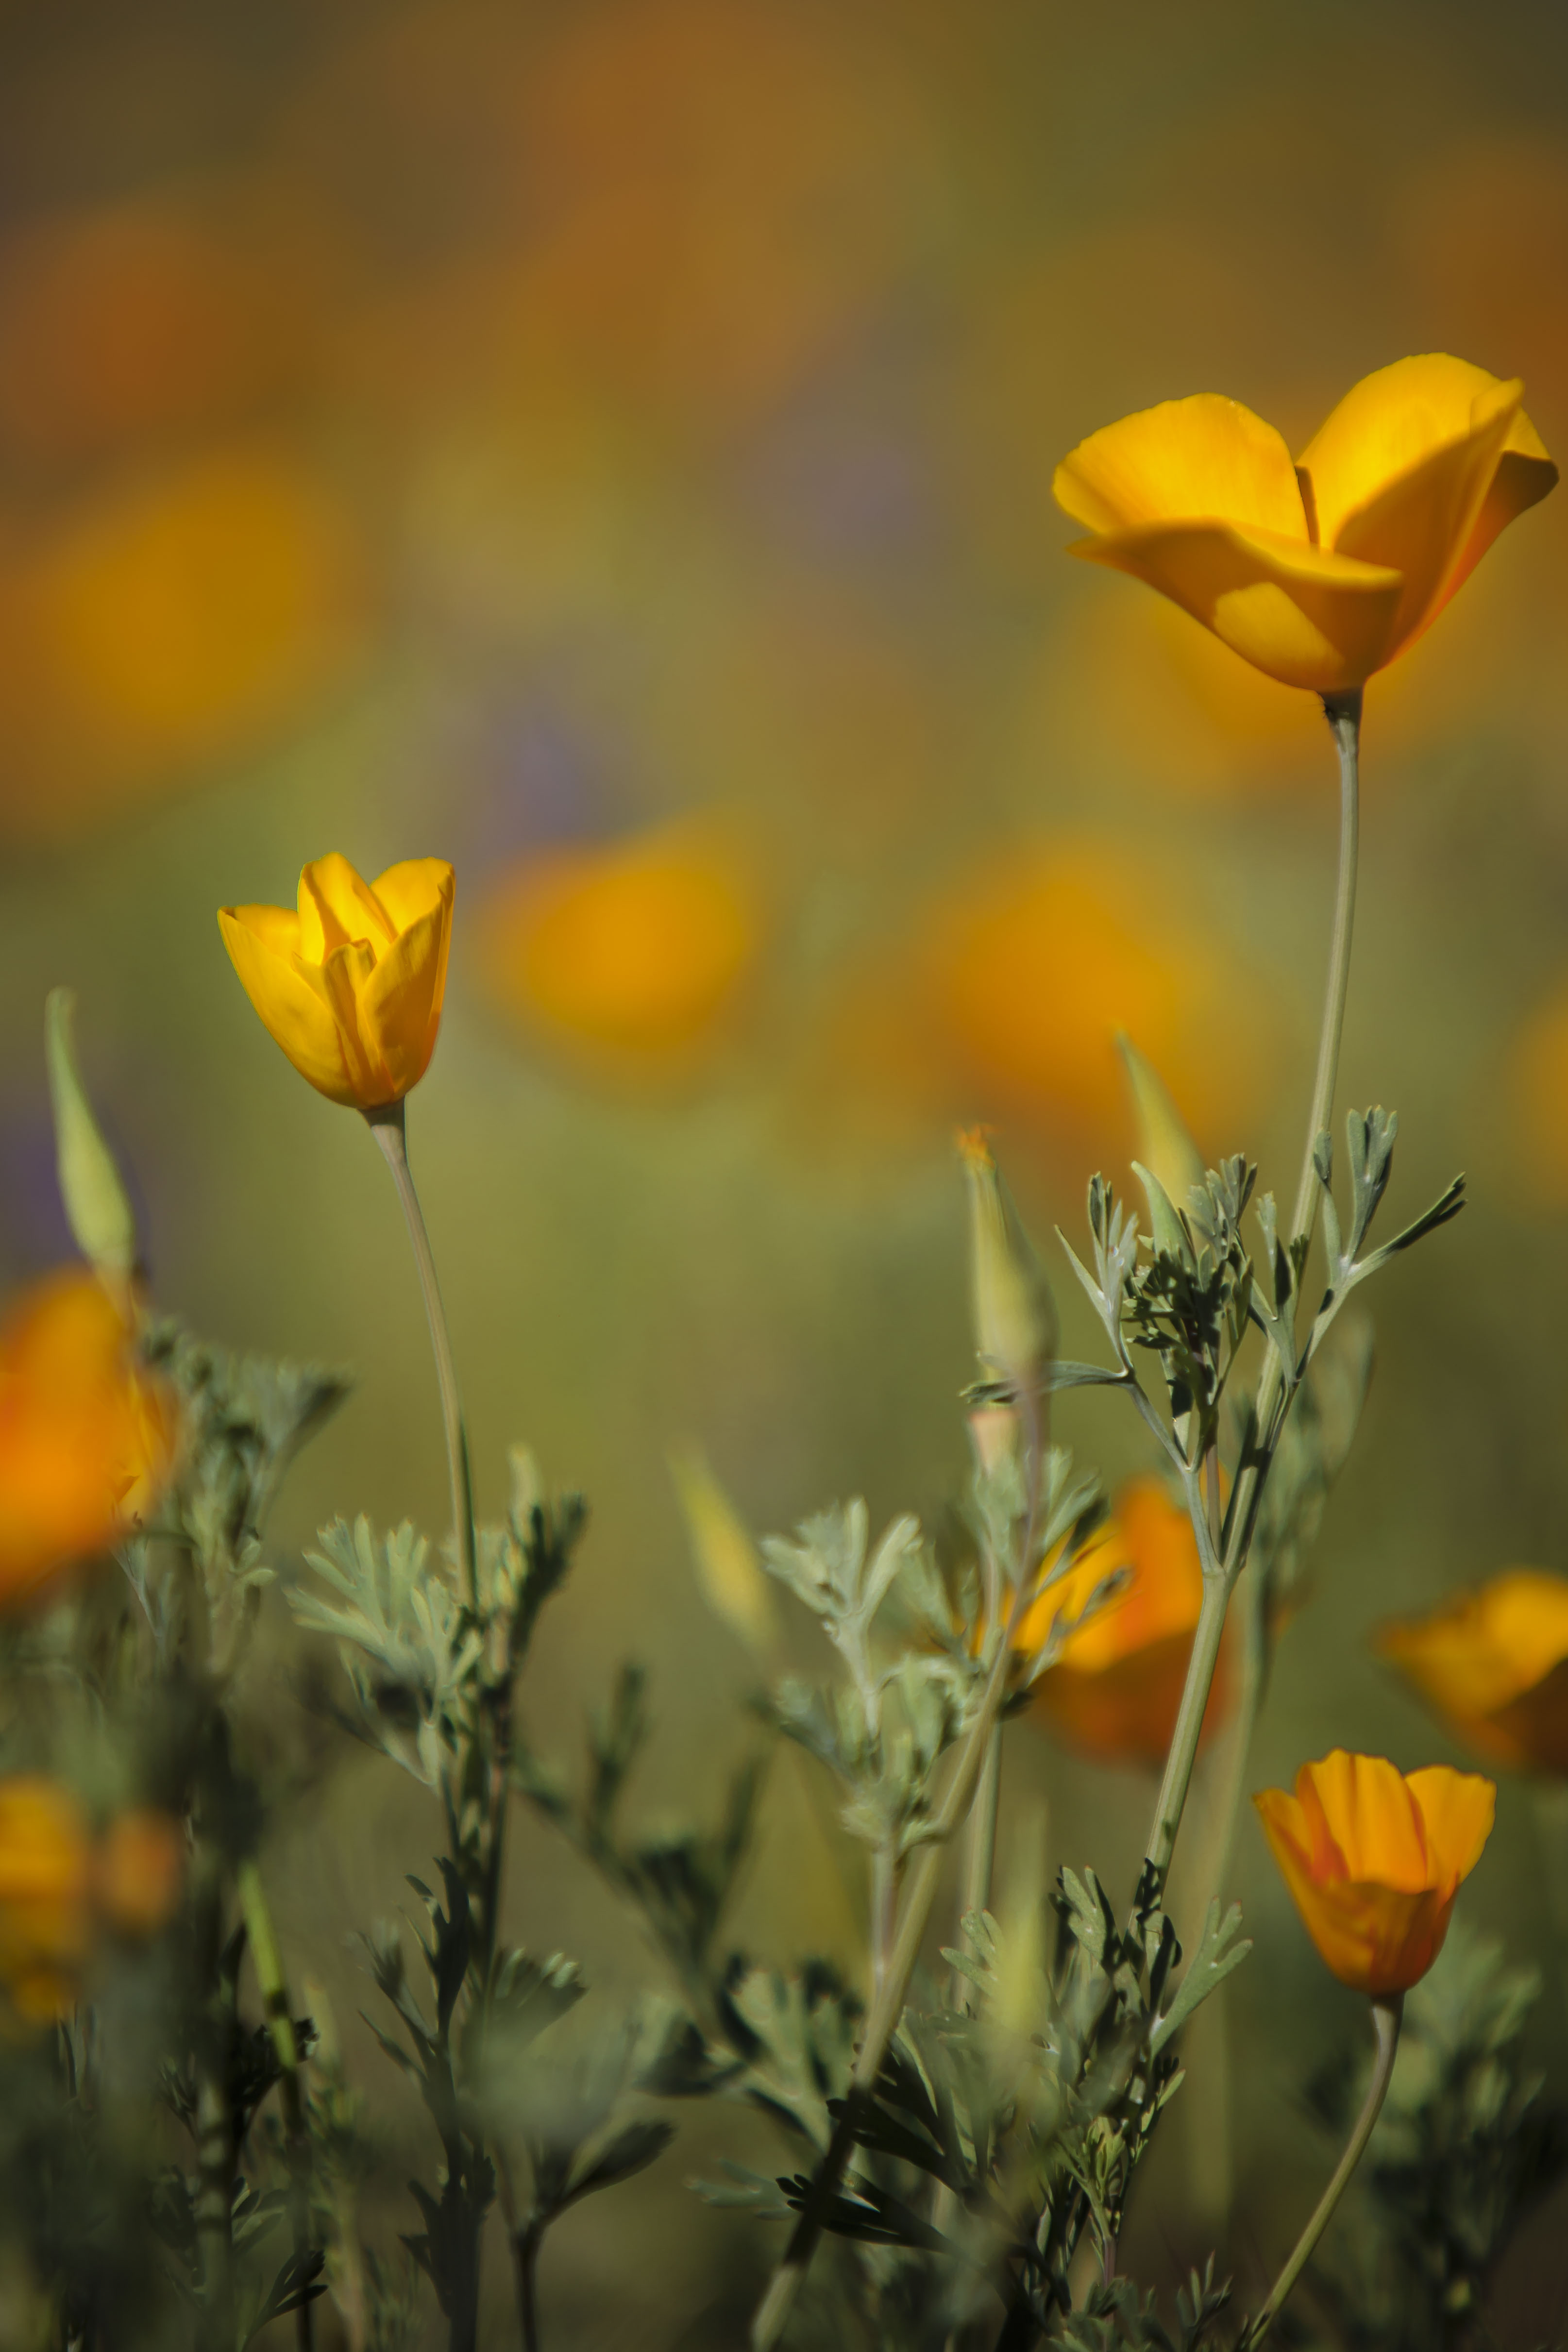
Spring is coming.  It’s still a bit chilly in our neck of the woods, but we took a trip down to Phoenix, and the flowers are all a bloom.

red-flarePSi

poppiblur vertPS

We had hoped to see the fields of poppies, but the poppies were rather scarce.  I’m not sure whether we were too early or too late.  We won’t see the flower blooms up north for a couple more months.

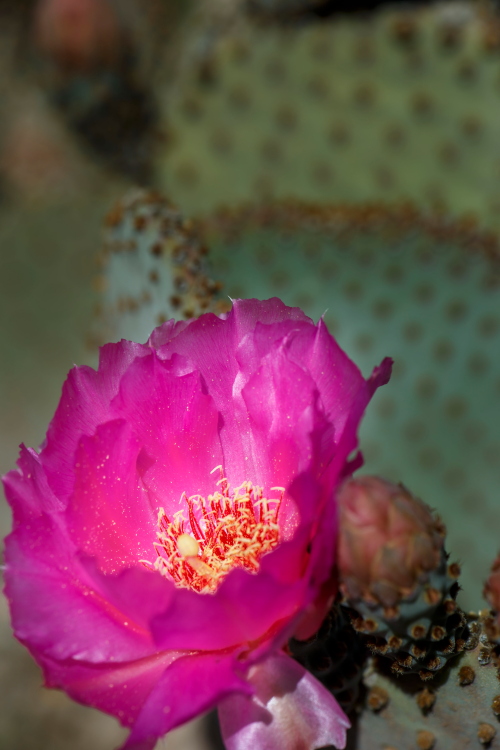
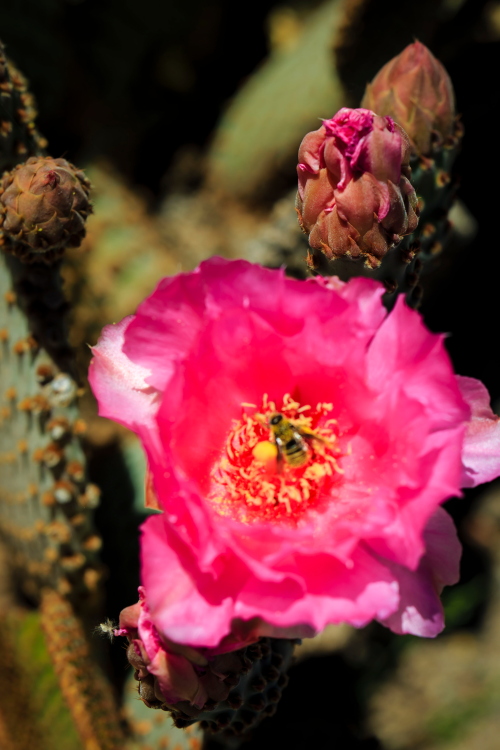
We did see one cactus bloom.  The mass cactus bloom won’t be until May, but this little guy was an early flower.

pinky vert lowrPSi

pinkbeePSi

sunrise hillsPSi

Make it Blur

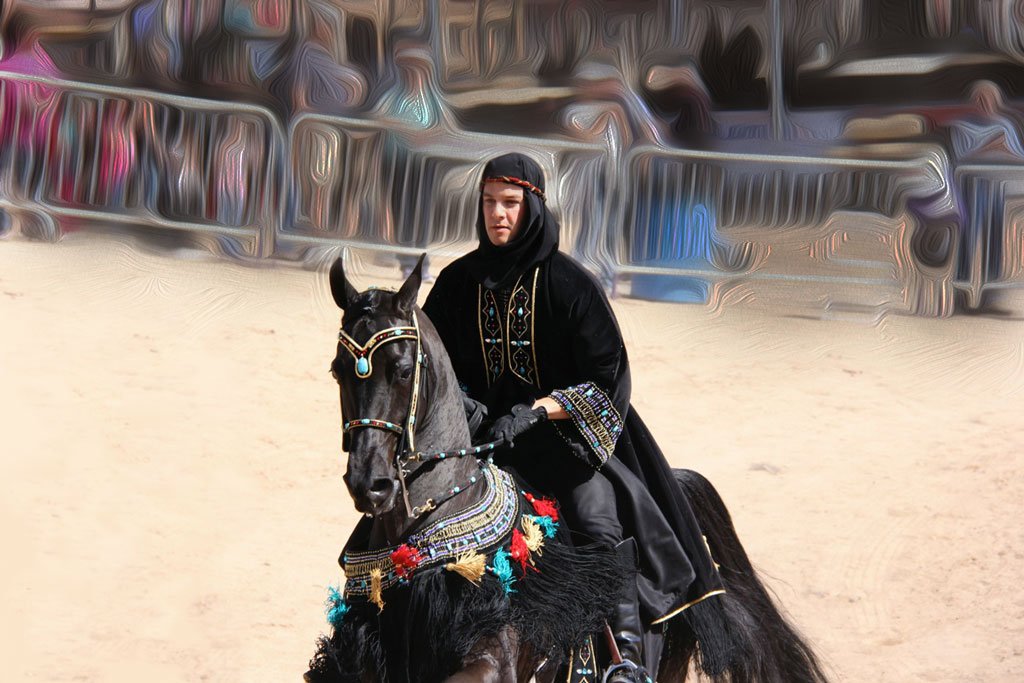
I have been taking a Photoshop class, and getting quite the refresher on Blur techniques.  I forgot the vast varieties of blurs that exist in Photoshop.  So I thought I’d have fun with it, and demonstrate several different blur techniques.

So many of my photos are Wildlife and Landscape.  I thought it would be good to use an example of blurring out background distractions… like crowds and people.  I solicited my photog friend, MaureenK.  MaureenK goes to lots of horse and car shows…. and you can always count of crowds to be present at those types of events.  She was willing to let me ‘have my way’ with one of her photos for the sake of my little BLUR exercise.  You can see more of MaureenK’s work on Flicker:   http://www.flickr.com/photos/kovacs_m/

Here’s her original picture:

MK60D_AHS12_0015 copy

First up, I tried a RADIAL BLUR from the Photoshop toolbar, Filter-Blur-Radial Blur:MK-blk-rider-radial-bluri

Then I got creative and used the Filter-Blur Gallery-Pallette Knife, there are so many to choose from.MK-blk-rider-palatte-knifei

I got tired of this guy standing next to the horse watching me.  So with the power of Photoshop and it’s amazing Content Aware Fill, I selected him with my lasso tool, and deleted him before moving on to my next blur technique.

Then I used the Filter-Blur-Field Blur technique, setting focus pins and blur pins to identify what I wanted in and out of focus.  Cool tool.MK-blk-rdr-field-bluri

I had to try the Filter-Oil Paint technique while I was at it, for an interesting artsy look:MK-blk-rdr-oilpainti

And finally, since I was playing.  I decided this black horse and rider would be happy going to the beach:

MK-blk-rdr-beachi

Gotta love Photoshop!

Special thanks to MaureenK for letting me play with her picture.

Print It!

For Christmas I gave gifts that kept on giving… and cost my friend’s money… and a smile.

elk print

To a special few, I handed out my own photographs.  Not only photos that I took, but that I printed.  Who knew printing was it’s own craft and art?  I have learned more about ICC (International Color Consortium) profiles, paper types, RGB space, CMYK, Pro Photo and things I’m still learning.  I have learned the need for sharpening, adding contrast, and calibrating my monitor to establish a true baseline for my prints.  Who knew?

Traditional photo paper is RC, or resin coated paper, and comes in more well known brands and types than you can shake a stick at.  But then there’s paper canvas, cotton fiber, and fine art papers that truly make wildlife and textures come alive.  There is so much I have learned… and still so much I don’t know.

What I do know is I love my new Epson 3880 Large Format printer.  It prints 17″x22″ and below, including the popular 13″x19″ sizes.  Even paper sizes are new to me.  I feel like I have been living in an alternate universe, one that was devoid of all this depth of knowledge of printing, papers and their new technologies that I was absolutely oblivious to. There may not be enough time left in my life to learn all I have yet to learn.

epson

Antelope Watching

antelope-gathergPSi

There’s something super cool about going to the market in Flagstaff, and running into so many animals.  Eagles seem to becoming a more common sighting; elk and deer are certainly common.   But it’s more unusual to see pronghorn antelope.  We see them occasionally, but less often on the way to Flagstaff (more often on the way to Winslow).    We saw quite the herd this week.  They were kind enough to pose for me.  Someday, I’ll get up close and personal and get closer pix… until then, I was happy to have the sighting… and get a pic.

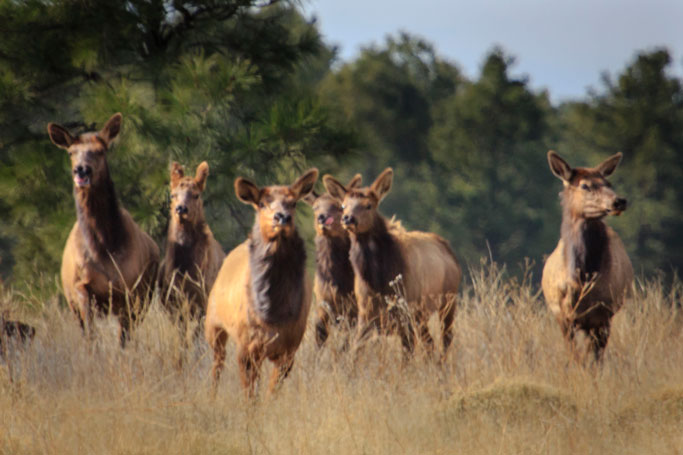
elkonlookPSi